Clouds live outside.
Clouds don't belong in indoor pictures. This was taken on stage just before read more
sets, photos
 10
PHOTOS
10
PHOTOS
10
PHOTOS
10
PHOTOS
10
PHOTOS
10
PHOTOS
10
PHOTOS
10
PHOTOS
10
PHOTOS
10
PHOTOS
10
PHOTOS
10
PHOTOS
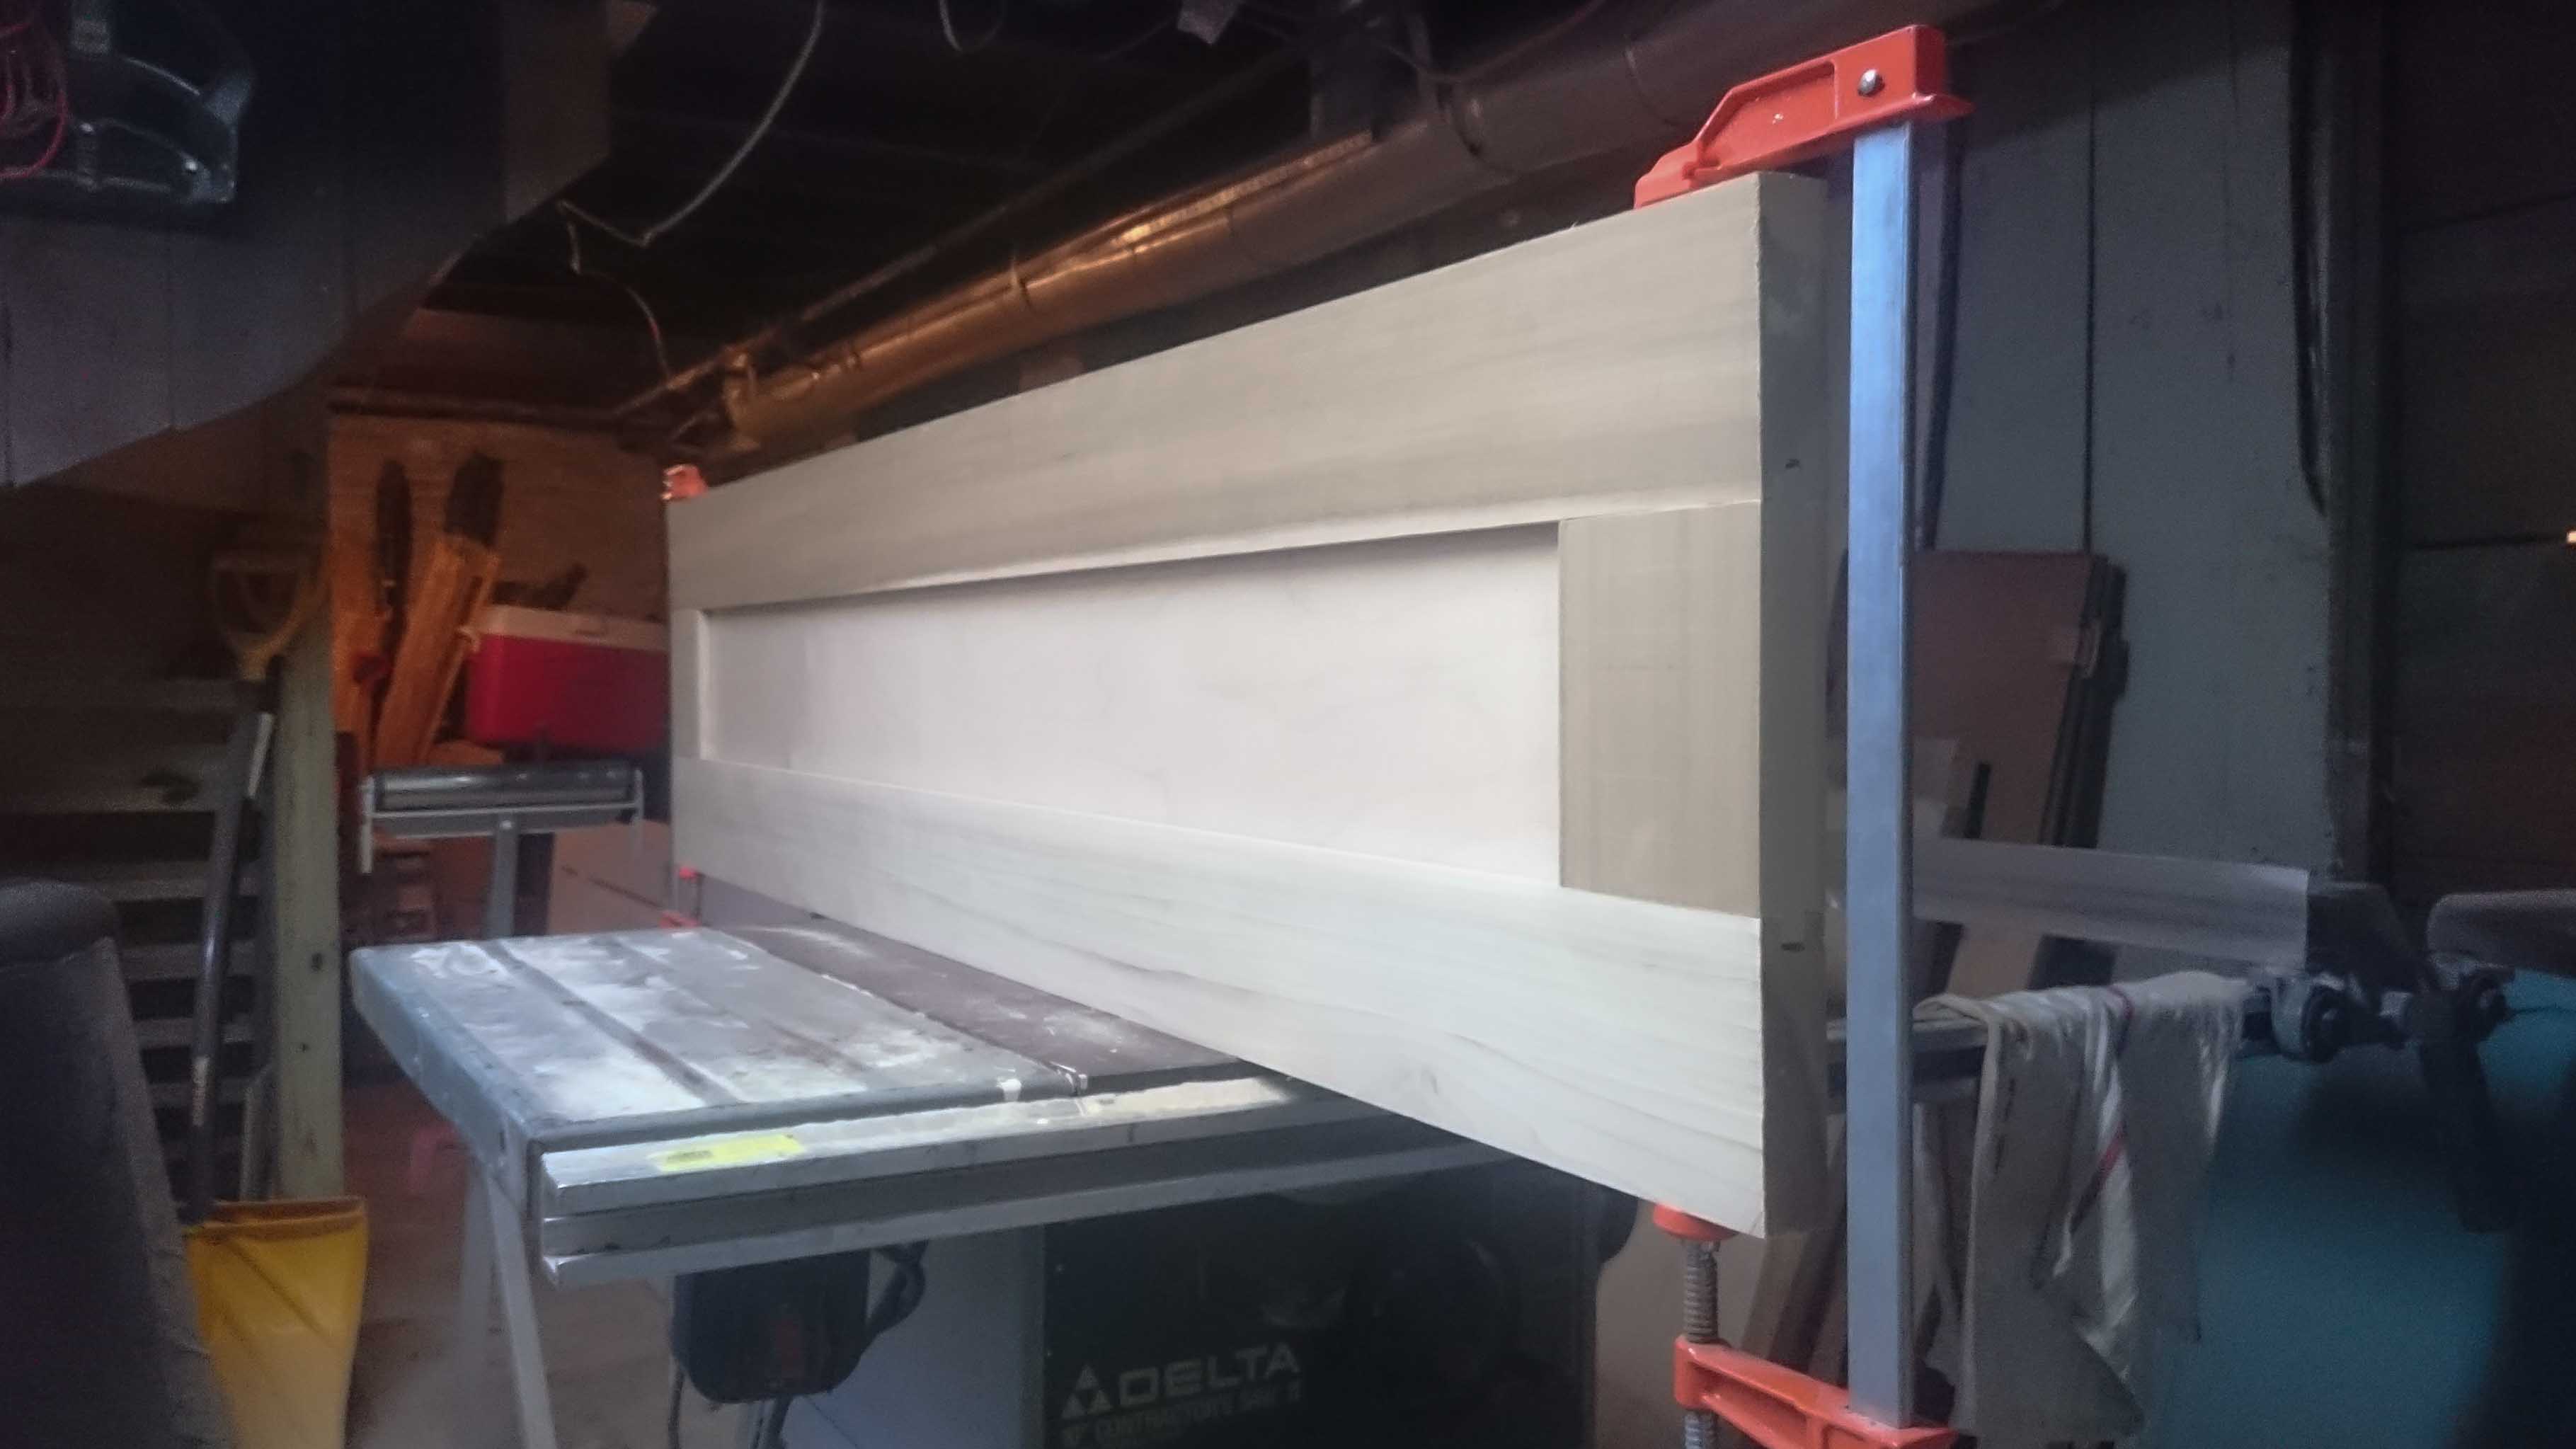
Photo documenting a build process can be simple, if a good lighting set-up is already in place. My "wood shop" is in my basement. Basements aren't known for great lighting. That's why I buy daylight-balanced lights. They're designed to shine at 5,000k instead of 4,400k. I love these LED fluorescent-replacements. That color difference improves the feeling of working down there. I shot this whole post on my phone. Having a thoughtfully lit work area helps simplify photo-documenting the process.
But, this isn't a post about light temperatures and camera gear. This post is about a door.
Specifically, the door I needed to access the attic eves from my bedroom.

When I cut into the wall, heat started pouring into our bedroom. I stacked up some boxes and bookcases to block the opening. That made it more bearable to install the door jams on a hot day. With the door jam installed, I took my initial measurements for the door. Following this site's instructions for building a door with a table saw, I built a CAD model of the door. This time I even got fancy, and added variables for the height, total width, and rail/stile width. I have a few more to build, and now I can update the model, and it'll make all the adjustments necessary. You can check out that model here.

With that model made, and a parts list, I headed to Boulter plywood to get the lumber I needed. That place is amazing. Three basement rooms hold all kinds of wood, in various thicknesses and widths. There's fancy stuff down there I've never seen before. On the ground floor they have just about any kind of plywood or veneer imaginable. Since I'm painting this door white to match the trim, I used poplar for the frame and birch for the panel.
My basement is NOT huuuuuuuuuuuugggeeee. It's actually a tight fit. In order to rip the rails from the 10' board, I had to move the table saw. Otherwise the board would hit the furnace. My work area is positioned between furnaces, washing machines, stacks of wood and the stairs down to the basement. Maneuvering wood to cut is very tricky. If I stretch it out to the maximum, I can rip a piece of wood 13' long. But then I've completely blocked off access to the laundry area. Constraints force creativity. I have to be creative when figuring out how to work in that space.
Cutting the rail groove was tricky without a dado set. A dado set is a set of blades you stack together to cut out channels or grooves. Depending on the thickness you need, you add or remove blades from the set. It's a very efficient way to cut a rectangular channel into wood.
I own a dado set, I just can't use it yet. It sits on my shelves taunting me. In order to install it in my tablesaw, I'd have to remove the safety plate around the blade. The screws holding in that plate are stripped, so I can't swap them out. Eventually I'll get a screw extractor and some new screws. In the mean time, I improvised. Instead, I did multiple passes to get the right thickness for the groove.
 Making the stiles fit snugly took some doing. By some doing, I mean three tries. The kindling pile grows steadily. The third set finally fit like a charm. I had been measuring everything in 1/16ths of an inch. Thats a good unit of measurement for most woodworking. However, these tolerances required measuring with my calipers. Even estimating 32nds of an inch was too rough. I got it within a two hundredths of an inch, and then sanded it down by hand from there.
The panel came last. A 4' x 8' sheet of plywood does not fit gracefully into my basement. I sure as hell can't cut a full sheet on my tablesaw without moving a lot of stuff around to make room. It's much easier to use a handheld skill-saw and rip it manually. If you haven't worked with 1/4 inch plywood, then you probably don't know how floppy it can be. It's easy to cut rigid wood. It's much harder to cut with a heavy handheld tool when the material flops around. Fortunately, the panel edges are hidden from sight in the final assembly. My sloppy handiwork won't be on display.
With all the pieces cut, dry-fitting came next. All the pieces fit snugly together. A little glue, a few clamps, and the door is together.
Clouds don't belong in indoor pictures. This was taken on stage just before read more
Inspired by The Rye Baker by read more
Love it or hate it, Pokemon Go is everywhere. If you hate it, then you're probably not reading this. You also don't care how to take better pictures within ... read more
 read more
Comments